Showing posts with label Storage. Show all posts

Thursday, April 3

CD Storage

I seem to have a sudden multiplication of CD's lying around the house lately. Ugh, it's like we've never heard of an iPod (!!). Between recorded talks, and family members feeding my kids brand new music collection obsession, CD's are popping up with an alarming Tribble-like rate (sorry, my inner Trekkie emerging). I can no longer fit them in my CD "tower" (if you can call it that). So I thought it was time for a better, more attractive storage method. See those fantastic little fabric covered boxes on my newly completed bookcase (which you can read all about here)? Yep, that is my new hidden/attractive/effective CD storage!! Hey, if you have to keep them around, then why not make it less annoying to look at?


CD Storage Before
I hate to show you this... *head hang of shame*
This is how I was storing my CD's before. I can't even call this storage, it was more like stuffing miscellaneous disc's into any nook I could find. To be fair, it was mostly the kids fault. Yes, I just threw them under the bus on that one.  *cheeky grin*


With the work I've been doing on my living room, I am loathe to spend another penny...even on an organizing task. So while there are several types of CD cases that would be very nice to use, they will cost me more than a few dollars, and then I will need to purchase more storage for all those cased CD's.


For my needs, the cheapest solution, paper envelopes will do just fine. For those who may have different needs, I like the clear mostly round plastic holders.
I purchased these simple white disc envelopes from Staples, 50 sleeves for $7.79 (before rebates & coupons). These thin sleeves will allow me to pack the CD's in and get the much needed space! Truth be told, I don't use these disc's all that often, but some are computer software, or pictures from family that I'm pretty sure I'll get in trouble if I throw out.


I love these fabric covered boxes...the fabric reminds me of a suit. These are actually mini drawer boxes to an organizer I found at a thrift store several years ago. I use the drawer frame and the boxes separately for different storage purposes because I always prefer open storage.


Each box has a different category of disc's, so there was no need for me to create dividers. One is dedicated to computer software & games, one is for music & speakers, one is for DVD's, and the last is for pictures & miscellaneous disc's. 
I originally labeled them, but honestly we know which is which, so in keeping with simple decor I removed the labels and let the simplicity of an organized system speak for itself. 


Now all my disc's are neatly tucked away, never to be scratched or lost amid the mountain of CD's again!
Who doesn't love a quick and oh-so-easy organizing task?

Tuesday, March 18

A Puzzling Dilemma

Puzzles are a favorite Saturday afternoon activity for my family.  I love seeing my three girls, heads bent, chins cradled by little hands, curls bobbing about as they determinedly search through puzzle pieces. At those times I'm glad I took the extra time to create a special puzzle storage area.
Of course, it was as much for the sake of saving my sanity as it was to take care of our puzzle pieces. Nothing is worst than starting a puzzle, and discovering days later that you are missing the last 5 pieces because it has been knocked about while waiting to be completed! 
My storage solution? One puzzle storage box that holds 6 individual puzzles, an itty bitty box to catch any puzzle escapees until we figure out which puzzle it belongs to, and finally two pull-out shelf trays to hold puzzles-in-progress. The shelves come all the way out so they can be laid out on a coffee table with the puzzle atop while being worked on, and quickly stored out of the way when we need a few days break.


FASHION-ing The Box
I love the wooden boxes often found in craft stores, definitely practical. So I was thrilled to find this decent sized box on sale at Goodwill for a dollar! Of course, I want pretty as well as practical, so I'm sharing how I adding a little glamour to this plain Jane box.


Now, I realize that we see wood and typically think stain. Well I propose that sometimes we make life easy and think spray paint! I'm starting with a gorgeous metallic gold for the inside, so that every time we lift the lid off of this baby we get an eye full of pretty.


Next I'm using a reflective metallic silver spray paint all around the outside. I let it dry about 10 minutes before doing a second coat to ensure no wood is peeking through.


Finally I "age" the silver by lightly spraying my metallic gold around the edges. Keep a fair distance when spraying your gold tint so that it appears to fade into the silver. Let it dry, then use a clear spray to protect your finish and prevent the metallic paint from rubbing off onto little fingers.


Once it is completely dry. It's time for the bling! I confess, I'm adding hardware like it is a dress accessory. Purely aesthetic, this cabinet hardware costs $3 at Walmart, and I love the style it adds!!


It takes a few extra dollars and a couple extra minutes to add a little class, but I think it is well worth it!

In a matter of 40 minutes (give or take a few drying minutes) you've got a lovely glammed storage box! I love the way the wood grain shows through giving the effect a stain would, but with the benefits of spray paint.


FUNCTION
Fashion or not, if I had to choose, function would win out every time. Boy, I'm thankful I don't have to choose! *wink*
Inside this box, six $1 plastic pencil holders do a stellar job of storing one puzzle apiece. 
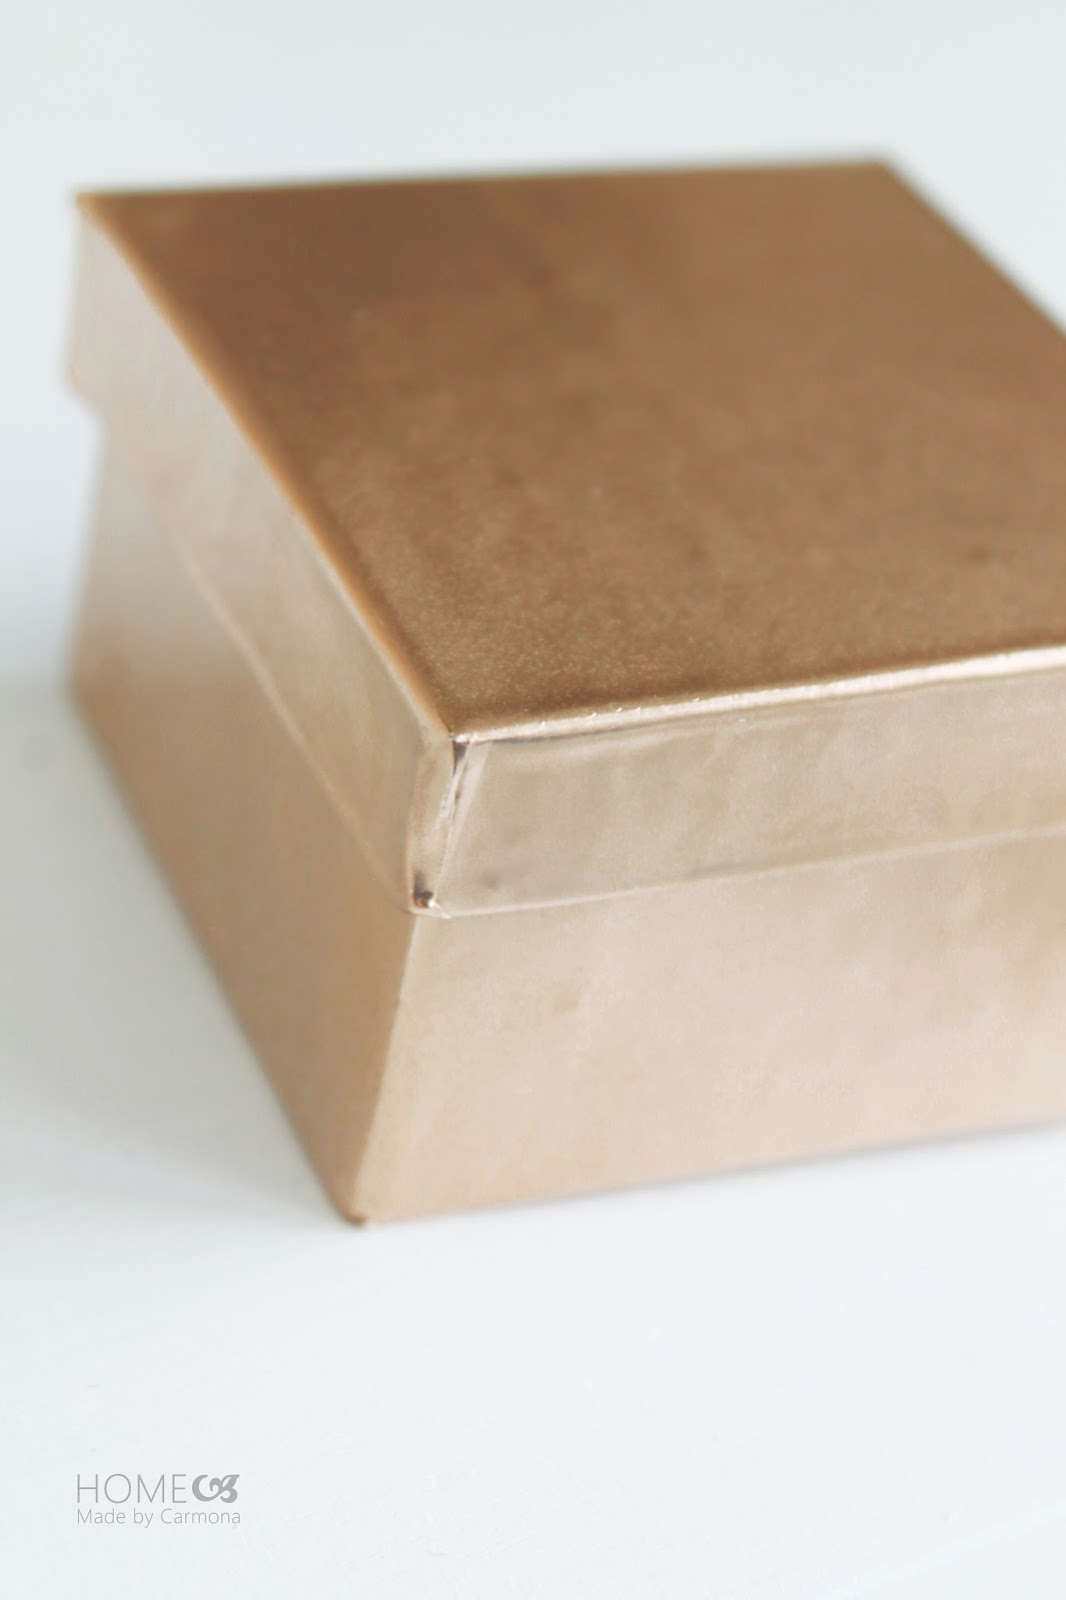

FAUX TIN Box
I spied an incredible metallic tin set on Pinterest and I haven't been able to get it out of my head since. I thought perhaps I'd experiment with turning this little cardboard box into a knock-off version of that. I figured if it turned out well, I'd do a trio of varying sizes for my office area...


...Well? Not half bad right? This little box was a great trial run to help me work out the kinks before attempting my knock-off tins. You'll have to wait for the tutorial on that one! But just to give you an sneak peak of my materials...


This little box makes a great place to stash the random little puzzle pieces that somehow managed to escape. I usually find them while vacuuming, and not always able to determine which puzzle the piece goes with, this allows me to store them until needed...then if we discover we are missing a piece or two to finish up a puzzle, we check the little box for any missing pieces.  


I may love beautiful things, but decorating always serves a bigger purpose in my house, and my little puzzle storage area is no exception! 


Monday, November 11

DIY Hairclip Holding Art

I'm working on the art grouping in my kids Jack & Jill bathroom, when I realize that I've misplaced the glass to one of my frames. Aw bum. I am tearing the place up looking for this tall thin piece of glass, but to no avail! I am terrified one of the kids will "find it" by accidentally stepping on it or scraping their hand along whatever surface I left it on... my poor paranoid mom mind is having visions of a maimed child with a large shard of glass through a foot or hand. *grimace*   I "quarantine" the room I am working in and make all three kids sleep in one bedroom...you know, to keep them from being maimed. Two days later (yep two days) I give up in despair (telling the kids they will never be able to enter that room for the rest of their lives), swearing never to absentmindedly set anything down again (which lasted all of two seconds). Resigned, at least I know what I'm going to do with the glass-less frame...create a hair clip holder for all our fancy clips that can be displayed on the wall! 
Now, before you go call child services, I did find that missing piece of glass...after I completed my project! Get this, it was where I put it for safe-keeping, on the top of a high bookcase. *face palm* Sooooo how many years after having a child can you claim baby brain?? *wry grin*

The Perfect Frame
The perfect frame for this project might just be the ugliest frame you have around, or one that has mysteriously lost it's glass. I spray painted this frame gold, rubbed it with some dark gel stain, and gave a clear protective spray before it was ready for my little project.


Materials
  • Glass-less frame
  • Fabric of choice
  • Ribbon
  • Foam or batting
  • Thin cork (optional)

Steps
1. Use the frame's matte (or the insert photo) to measure and cut your cork and foam (or batting) to size. Cork is only necessary if you plan to insert pins to hang items from. 


2. Lay foam/cork/batting on top of your fabric and cut giving an extra inch or so. You need to be able to easily wrap the foam/cork/batting in the fabric.

3. There are several styles you can go for with your ribbon: a simple straight down the middle approach (like mine), or you can create a criss-cross design with your ribbon. This is a little more tricky to hold in position while putting into the frame, but doable with an extra set of hands!

4. Set your frame face down, and position your fabric wrapped foam/cork/batting and ribbon in the empty frame. You are going to place the frame backing so that you can pull the fabric and ribbon taut around the outside of it. Once the frame back is secured it should hold the fabric and ribbon very snugly in place. If necessary, trim any excess fabric and ribbon leaving at least a half inch all the way around. Optionally duck tape the edges to the frame back...this will tidy it up a bit and help prevent fraying edges. 


Use this hanging storage to display your practical clips, your prettiest clips, or even your jewelry! I'll be storing my bobby pins...if I can ever find them! My little munchkins were playing princess yesterday, and somehow my pretty clips and all but these two bobby pins disappeared! Well, you'll just have to imagine how great pretty clips look displayed! *chuckle*


It fits well, nestled among the rest of the art grouping I finished a few days ago. In case you missed it, you have to go peak at how I created the art grouping on a total budget of $10! I even put some links to these prints for you... Perhaps there will be a few clever tips you hadn't thought of. *wink*


Tuesday, October 29

Recessed Bathroom Storage

I hate wasted space, so the idea of using the wall space behind the shower as recessed storage I find brilliant! The application of my particular space, not so brilliant. I'm afraid this space needed a little de-uglify-ing, and a quite bit of organization. What do you think?


While I was initially happy to have storage space behind closed doors, and I think the creative idea of using shutters as cabinet doors is fantastic, I'm afraid these doors aren't doing the job. Sadly they were not installed very well, so one cabinet door keeps banging against the bathroom door, while the other only occasionally stays closed. I think each and every member of this family has banged their head on that cabinet door at least twice. *wince* Time to remove these obnoxious things.


Some jobs are easier said than done... the doors are finally removed after many days of chipping paint off screws, then crying and gnashing of teeth trying to remove the stripped screws! I was not pleased with the condition of the wood trim, but I can't seem to remove the trim without causing cracks in the walls! Because of the way in which these shelves and trim have been installed, I've decided I can't risk damage by removal, and I will just have to make the best of it. I'm adding a little extra trim to the shelves, chipping and smoothing as much old paint as possible, and giving it a fresh coat.


I admit I am still not pleased with the trim, but a paint job will help freshen things up a bit. The blue-grey paint is the same used on the Painted Vanity to bring some continuity to the space. A few more coats of white paint on the trim, and I'll be ready to organize!

If you are going to have open storage, it has to be pretty as well as practical. In my opinion there is no prettier (or more practical) storage solution than baskets. I have quite a few items that I need to organize and stored in this bathroom, so I'm going to need a few good baskets.


Why are baskets so expensive? I'm seriously considering a weaving class. Thankfully I got a half decent deal on some large baskets at Kohls that fit perfectly....and just! You know how I am about coupons (it's a full-on love affair!), so you can't imagine my glee when I found one coupon for $5 off any Kohls purchase of $5 or more, and Kohls $10 off coupon!! Combining high value coupons with 70% off sales = 3 large baskets and a very happy me! 


I also wanted a few smaller baskets in a similar dark shade for the girls to store smaller easy grab items such as their hair brushes, soap, and wash cloths. I couldn't find any, but I did stain a few baskets which worked perfectly! These little baskets made the perfect 'easy grab' storage for hair brushes, soap, and wash rags. 


Of course, baskets don't hold the market on storage. I also love kitchen gear in just about any room used as storage. I've used jars, serving trays, cups, and now bowls as storage! These spray painted bowls hold hair bands and nail clippers in easy reach of the kids, and the higher up bowls hold cotton balls, nail & foot brushes, bath fizzers, and more!


I'm so happy everything fit back in this bathroom I could cry. A little dramatic? Yeahhh, I really hated the storage before. Now, I did store a few of these containers under the painted vanity, but other than that, everything fit perfectly (with room to spare) in the recessed storage area. As a matter of fact, I had so much room to spare, I didn't know what to do with the extra shelf space...well this is a first! 


So, what do you think of the open recessed storage now?


Linky Love:


Friday, October 25

The Golden Touch...Storage Bowls

I've always been a brushed chrome girl...until now! 
Deciding not to replace the pretty gold fixtures in our upstairs bathroom was the best decision I ever made for that space! Now I'm falling head over heels in love with gold, an affair I may not soon get over.


A month ago I purchased Krylon metallic gold spray paint with the idea to paint these awesome bowls I found at Goodwill for $1 each. I love the orange, but since I'm going for gold accessories for my upstairs bathroom, the orange has to go.


Well, lo' and behold I see the most beautiful image on Pinterest of gold sprayed mugs by Garland of Grace blog *swoon*. I literally yelled out loud "hey I did that too!". I don't usually read tutorials (what with my aversion to directions), but I couldn't peel my eyes away from that tutorial because of the gorgeous photos! I wish I had run across it before I completed my bowls, apparently I made the same set of mistakes she did *giggle*... great minds, and all that...


I have three medium bowls and three small bowls. The three large I taped off to paint the inside (with just a hint of the rim exposed), and the three small I created designs using painters tape before spraying. 


When I peeled the tape back after it dried, I got a little bit of a rough edge...so definitely peel it before it has dried completely. I find that I kind of like a little bit of "rough edge", but only slightly...  Here's a great little tip I stumbled on 5 bowls later. To get slightly blurred edges, remove the tape before it dries completely, then spray the clear sealant right away. The force of the clear spray causes the edges to "bleed" slightly if the gold paint is heavy and still wet. It makes for a neat effect! 


I am looking for pretty ways to store practical things in the bathroom, and I'd say these bowls are it! Nail clippers, hair bands, soap, floss, you name it...


Remember, once you spray the inside of these bowls, they become purely decorative.
Whether you use these decorative bowls as storage in a bathroom space, or in any other space in your home, every home needs a little golden touch!