Showing posts with label Organization. Show all posts

Wednesday, May 14

How to Make Cute DIY Drawstring Bags


I've gotten that organizing itch again... with all the crafty projects, summer road trips, and junk drawer-like messes, I've decided to bring things back into order using drawstring bags.
What can I say, I'm the naturally messy type, and being able to scoop up items and toss them into like groups just helps keep messes to a minimum.


With three kids everything I own gets a lot of wear and tear, its ridiculous how much wear and tear considering I have all girls! I'd like these bags to stand up against the onslaught of use, so for these bags I'm using the sturdiest material I own; Smart-Fab's disposable art & decoration fabric. It is strong, it doesn't fray or fade with washing, and it is great for painting on, making this the material of choice for a durable and attractive drawstring bag! 


Smart-Fab material comes in rolls so you can make bags of any shape and size. I'm thinking about creating some long drawstring bags to house my kids kites, beach gear, and a dozen other items we lug around throughout the summer. 
I was surfing through the Smart-Fab Pinterest page, and was impressed with all the things you can create with these large rolls! With kids I'm always looking for sturdy craft materials, and if you're a mom you are too, so if you want more info take a look at their website or Facebook page.


The color swatch book let me preview the variety of colors so I could determine which I would love most and get rolls in those colors. I am a sucker for bold greens, blues, and of course black and white, but my ever girly girls begged for some drawstring bags in pink and purple. Aw, I'm a sucker for my munchkins...sure why not, some  in colors for me, and some for my girls! 


I'll share step-by-step instructions on how to sew drawstring bags below, but first I thought I'd share the fun I had painting designs after sewing. The girls also enjoyed painting their drawstring bags, but were a little shy about me sharing their creations on the blog. Ah well, you'll have to take my word for how adorably cute their designs were...but then again, I might be biased. *grin*


When painting your drawstring bags, insert a little piece of cardboard or paper to protect against the paint seeping through. Some of my drawstring bags have a different design on the back.  A great idea for organizing is to paint a picture of the items the bag will house, or to stencil a word saying what goes in each bag on the back. 


Steps to Sew A Drawstring Bag


You're ready to feed the string or ribbon through the top, and paint your drawstring bag. Once the paint dries, organize your knick knacks, sit back and admire your awesome work!


Linky Love

Tuesday, April 15

Library Book Basket

My girls are big readers, and big mess makers, and big on losing things. Not a good combination for taking advantage of a "free" library...I believe I'm paying my way in fees.
So when I take a moment to write about buying a library book basket, you'll have a better idea of why.... when you have kids even the smallest organizing detail can make a huge difference.  


This beautiful basket cost just $8 at 50% off via TJ Max. It was a bit scratched up, which sadly makes it perfect for my girls to store their library books... Then I don't have to stress that they will destroy a beautiful or expensive basket over time. 


The girls sprawl out nearby this basket, warming themselves atop the living room vents as they read. Making this one spot their reading nook means they put the book back into the basket as soon as they are finished, which means no lost books, and less overdue fees! 
We also keep our library book bag in this basket, and book marks nearby. 


It is amazing what a simple basket and a plan can do. It is one less stressor for me as I try to teach my girls responsibility...after all, nothing is more frustrating than lecturing over a misplaced book. Now we are all smiles and good books.

Speaking of good books, here are a few of my favorite library reads! *Big smile*

Thursday, April 3

CD Storage

I seem to have a sudden multiplication of CD's lying around the house lately. Ugh, it's like we've never heard of an iPod (!!). Between recorded talks, and family members feeding my kids brand new music collection obsession, CD's are popping up with an alarming Tribble-like rate (sorry, my inner Trekkie emerging). I can no longer fit them in my CD "tower" (if you can call it that). So I thought it was time for a better, more attractive storage method. See those fantastic little fabric covered boxes on my newly completed bookcase (which you can read all about here)? Yep, that is my new hidden/attractive/effective CD storage!! Hey, if you have to keep them around, then why not make it less annoying to look at?


CD Storage Before
I hate to show you this... *head hang of shame*
This is how I was storing my CD's before. I can't even call this storage, it was more like stuffing miscellaneous disc's into any nook I could find. To be fair, it was mostly the kids fault. Yes, I just threw them under the bus on that one.  *cheeky grin*


With the work I've been doing on my living room, I am loathe to spend another penny...even on an organizing task. So while there are several types of CD cases that would be very nice to use, they will cost me more than a few dollars, and then I will need to purchase more storage for all those cased CD's.


For my needs, the cheapest solution, paper envelopes will do just fine. For those who may have different needs, I like the clear mostly round plastic holders.
I purchased these simple white disc envelopes from Staples, 50 sleeves for $7.79 (before rebates & coupons). These thin sleeves will allow me to pack the CD's in and get the much needed space! Truth be told, I don't use these disc's all that often, but some are computer software, or pictures from family that I'm pretty sure I'll get in trouble if I throw out.


I love these fabric covered boxes...the fabric reminds me of a suit. These are actually mini drawer boxes to an organizer I found at a thrift store several years ago. I use the drawer frame and the boxes separately for different storage purposes because I always prefer open storage.


Each box has a different category of disc's, so there was no need for me to create dividers. One is dedicated to computer software & games, one is for music & speakers, one is for DVD's, and the last is for pictures & miscellaneous disc's. 
I originally labeled them, but honestly we know which is which, so in keeping with simple decor I removed the labels and let the simplicity of an organized system speak for itself. 


Now all my disc's are neatly tucked away, never to be scratched or lost amid the mountain of CD's again!
Who doesn't love a quick and oh-so-easy organizing task?

Tuesday, March 18

A Puzzling Dilemma

Puzzles are a favorite Saturday afternoon activity for my family.  I love seeing my three girls, heads bent, chins cradled by little hands, curls bobbing about as they determinedly search through puzzle pieces. At those times I'm glad I took the extra time to create a special puzzle storage area.
Of course, it was as much for the sake of saving my sanity as it was to take care of our puzzle pieces. Nothing is worst than starting a puzzle, and discovering days later that you are missing the last 5 pieces because it has been knocked about while waiting to be completed! 
My storage solution? One puzzle storage box that holds 6 individual puzzles, an itty bitty box to catch any puzzle escapees until we figure out which puzzle it belongs to, and finally two pull-out shelf trays to hold puzzles-in-progress. The shelves come all the way out so they can be laid out on a coffee table with the puzzle atop while being worked on, and quickly stored out of the way when we need a few days break.


FASHION-ing The Box
I love the wooden boxes often found in craft stores, definitely practical. So I was thrilled to find this decent sized box on sale at Goodwill for a dollar! Of course, I want pretty as well as practical, so I'm sharing how I adding a little glamour to this plain Jane box.


Now, I realize that we see wood and typically think stain. Well I propose that sometimes we make life easy and think spray paint! I'm starting with a gorgeous metallic gold for the inside, so that every time we lift the lid off of this baby we get an eye full of pretty.


Next I'm using a reflective metallic silver spray paint all around the outside. I let it dry about 10 minutes before doing a second coat to ensure no wood is peeking through.


Finally I "age" the silver by lightly spraying my metallic gold around the edges. Keep a fair distance when spraying your gold tint so that it appears to fade into the silver. Let it dry, then use a clear spray to protect your finish and prevent the metallic paint from rubbing off onto little fingers.


Once it is completely dry. It's time for the bling! I confess, I'm adding hardware like it is a dress accessory. Purely aesthetic, this cabinet hardware costs $3 at Walmart, and I love the style it adds!!


It takes a few extra dollars and a couple extra minutes to add a little class, but I think it is well worth it!

In a matter of 40 minutes (give or take a few drying minutes) you've got a lovely glammed storage box! I love the way the wood grain shows through giving the effect a stain would, but with the benefits of spray paint.


FUNCTION
Fashion or not, if I had to choose, function would win out every time. Boy, I'm thankful I don't have to choose! *wink*
Inside this box, six $1 plastic pencil holders do a stellar job of storing one puzzle apiece. 


FAUX TIN Box
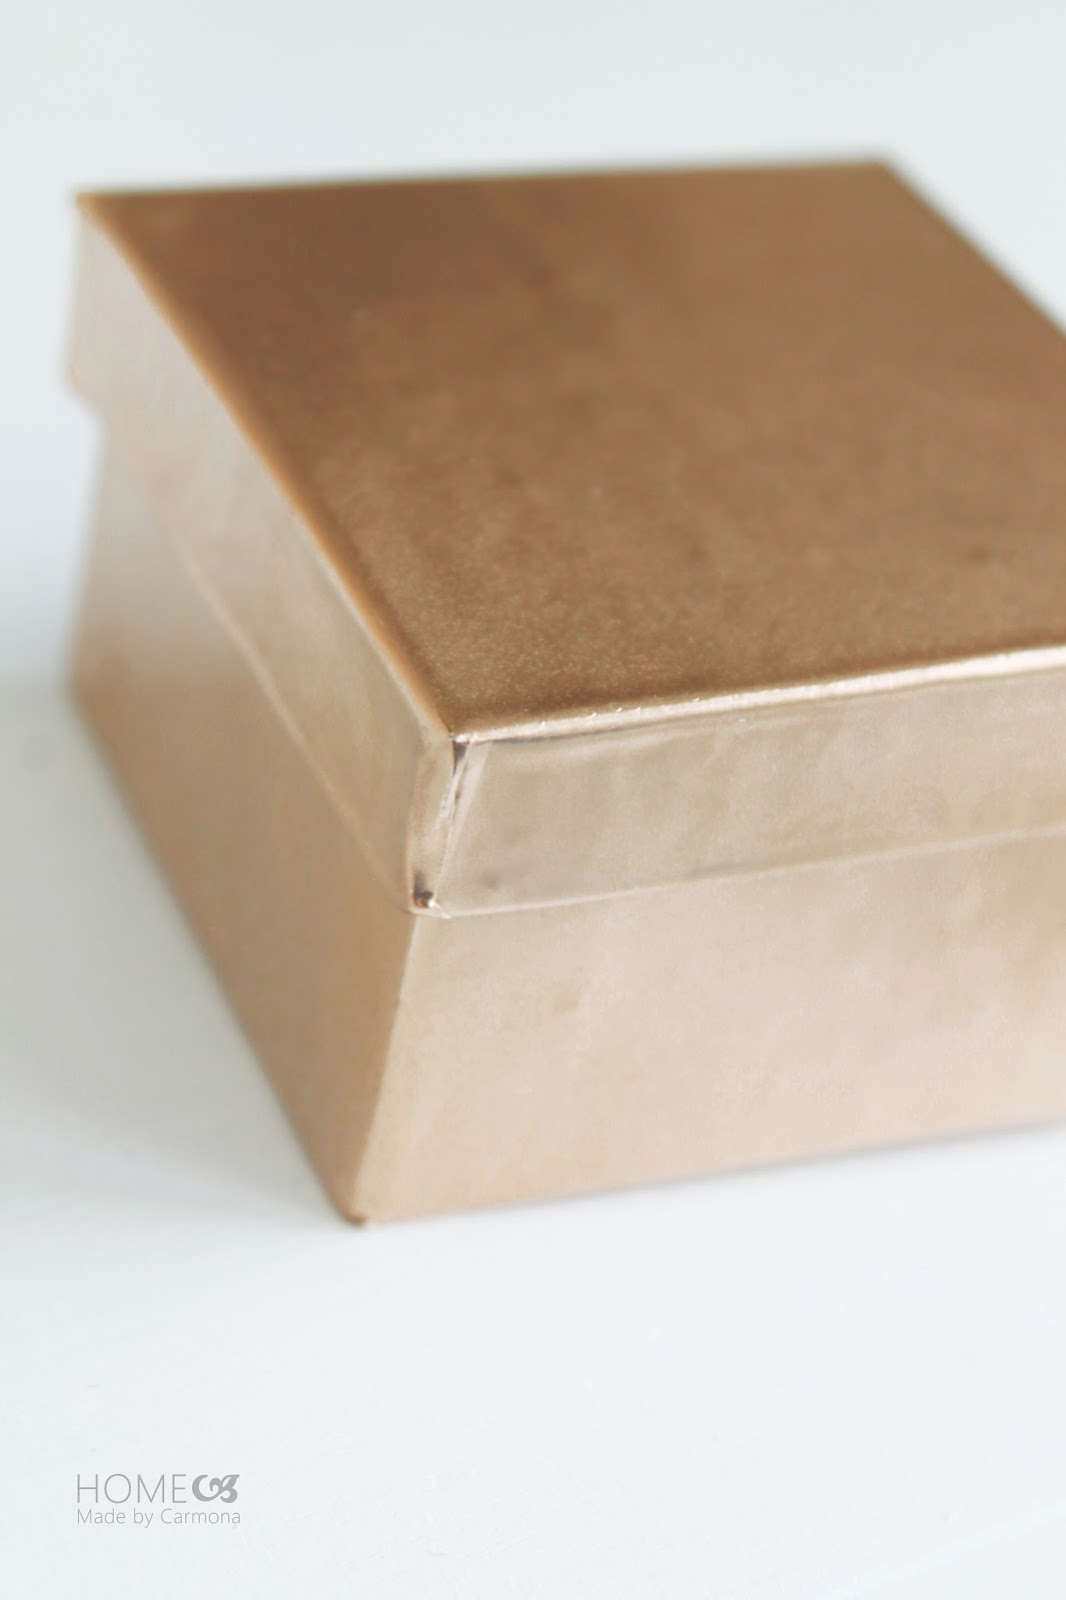
I spied an incredible metallic tin set on Pinterest and I haven't been able to get it out of my head since. I thought perhaps I'd experiment with turning this little cardboard box into a knock-off version of that. I figured if it turned out well, I'd do a trio of varying sizes for my office area...


...Well? Not half bad right? This little box was a great trial run to help me work out the kinks before attempting my knock-off tins. You'll have to wait for the tutorial on that one! But just to give you an sneak peak of my materials...


This little box makes a great place to stash the random little puzzle pieces that somehow managed to escape. I usually find them while vacuuming, and not always able to determine which puzzle the piece goes with, this allows me to store them until needed...then if we discover we are missing a piece or two to finish up a puzzle, we check the little box for any missing pieces.  


I may love beautiful things, but decorating always serves a bigger purpose in my house, and my little puzzle storage area is no exception! 


Monday, March 10

Gold Sprayed Jars

When a craft work space is as much display as it is function, you want your tools to be stored in an attractive manner. What better way to accomplish this than a few gold sprayed jars? Pretty, practical, mostly free, and it adds some sparkle? Why yes please!


Start by collecting a variety of reused jars. Keep jars that vary in size, shape, and have interest. 
Use painters tape to tape off the area you do not want painted.


Experiment with creating different designs by what you choose to leave exposed. You may choose to paint the top of one jar, but the bottom of another. 


I am using Krylon's Gold Metallic spray paint on most of my jars, which I am in love with and has more of a copper hue. I am also using Rust-oleum's Bright Metallics Gold on the rest, which gives me more a true golden hue. 
Be sure to do one light coat from a little distance and allow it to dry before doing a second coat...you don't want the paint to drip or pool by the tape otherwise the paint will peel when you remove the tape. Finish with a clear coat for durability and protection (optional).


Once your paint job is completely dry, gently peel away the tape. If there were any unintentional drips or area where you sprayed "heavier" than intended, rub your finger across the painted area where the tape and paint meet before pulling the tape away. If any paint begins to peel, simply rub it back into place, remove all the tape, and give it one last clear coat. 


While most of the jars have a solid covering of paint, I like to see a little variance and chose to spray at a couple jars at an angle which allowed some of the creases and edges to to still show clear creating a design of its own.


Looking to add a little more design than spray paint can offer? Try using gold acrylic craft paint. I painted these little dots with a small paint brush, and sealed with clear spray paint.


What lovelier way to upcycle and store necessary items? It is like turning your tools into decor.


Happy Spraying!
See the rest of this bookcase & styling here. 

Linky Love